
Room Settings
In this module, learn a key step before adding any modules into your design. Implementing this step will significantly streamline your workflow, minimizing both time and effort spent.
Room Settings are a way to predefine your Material, Finish, Handle and Hardware preferences for the Modular work for each room. Any modules which are added will follow the predefined settings for each category. The set the room settings, follow the below steps:
1 . Click on the ![]() Room Settings tool icon to open the Room Settings Dialog Box.
Room Settings tool icon to open the Room Settings Dialog Box.
- Select the desired category in the category panel on the left hand side of the Dialog Box.
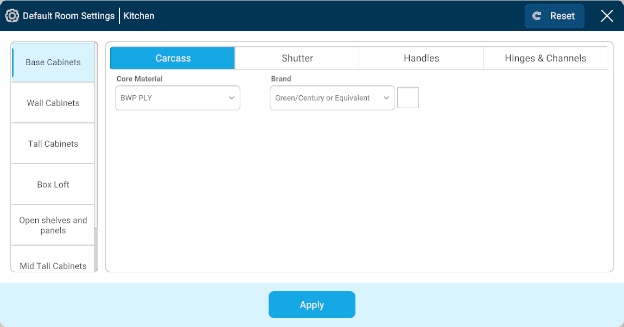
- There will be 4 headers: Carcass; Shutter; Handles; Hinges & Channels. Select the preferred options from the dropdown for subheaders under each header.
- Repeat the process for each required category.
- Click apply.
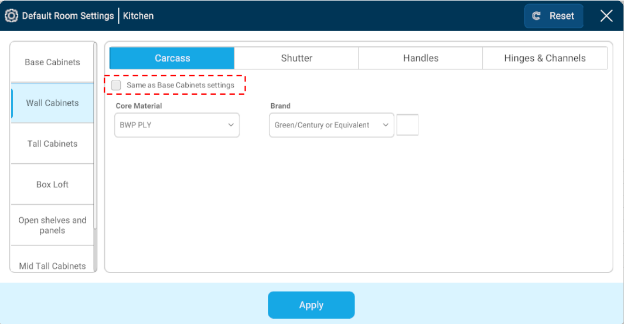
Protip: Once you have done the selection for the first category and want to use the same settings for any other category, use the ‘Use same as…..’ option to copy the settings of the first category. This option will be visible in the second category onwards.
You can also use the Reset button at the top to Reset any category to its default settings.
While it is not mandatory to perform this step beginning to add any modules, it is a recommended step. This step can also be performed after the addition of any modules and will change the properties of the added modules as per their categories and will be the reference for any future additions.